Friday, August 2, 2013

Headbands, key chains, and hats, OH MY!

I haven't posted for a long time but I have been busy!  I just wanted to quickly tell you about some new items I'm creating for sale.  I post them all on my "hobby" Facebook page HERE.  I'm currently having a "like and share" contest on there.  Everyone who LIKES my page and then SHARES it on their own Facebook wall will get their name in a drawing for a free headband or key chain of their choice.  Drawing will be held August 9th so be sure to enter! 

Here's some of the recent items I've made and posted:

Americana slouchy hat $12


Brown hat with front brim $15


Shimmery ruffle scarf $12


Hat with full brim $15


Striped slouchy hat $15


Fabric headband with flower $6


Wrist key chain $5


Fabric headband with lace flower $6


Glittery fabric headband with flower $6


Glittery wrist key chain $5

 
Fabric headband with buttons $6


Braided fabric headband with flower $6


Fabric headband with 2 flowers $6


Wrist key chain $5


Again, be sure to "like and share" my Facebook page to be in the drawing!
If you're not on Facebook, you can EMAIL ME if you see something you like!  :)
I will do custom orders (if possible) and I will also mail orders (you pay exact shipping!)

Hope to hear from you soon!

Tuesday, May 7, 2013

Crocheted Messenger Bag

Here's another bag I made with the Deborah Norville Everyday Soft "Smoothie" yarn.  I didn't not have a pattern for this; I just started crocheting.  I knew I wanted a small, crossbody, messenger-style bag.


I added a ruffle on the flap.


Thanks for looking!
Keepin' it short 'n' sweet.
TOOTLES!

Sunday, May 5, 2013

Crocheted "market tote"

My friend Patti over at Color My World Crochet makes hats (and other things) and sells them on Etsy. She had made a hat with some yarn called "Smoothie" from the Deborah Norville Everyday Soft line.  The colors are very HOT for this Spring season; I see them in lots of clothing/accessory stores right now.  Here's the yarn:
I ordered some online from Herrschners and searched for a tote bag pattern.


Here's the pattern I fell in love with!  I got it from the Lion Brand website.


And here's my result.  While I do love it, my bag is a lot smaller than the one in the pattern picture!  Now I'm not a "pro" when it comes to crocheting, but the pattern called for cotton yarn and a size I hook.  I used the Deborah Norville yarn and a size J hook.  I followed the directions carefully and ended up with a cute, yet small, tote bag.  I really LOVE this yarn though- it's so soft and almost has a silky feel to it.


This picture gives perspective to the size of my bag.  Quite a big smaller, lol!  I have no idea what I did wrong.  And I have no idea what I will do with this bag.

The good thing is (there's always a bright side, right?) that I have enough of this yarn left to make something else.  I ordered 5 skeins!  I planned on making a matching sun hat for myself and using the tote for beach items when we go on vacation.  However, the bag really isn't big enough for that.

What I ended up doing is starting another bag.  Not using a pattern this time; just "winging" it on my own.  It's a completely different style than the one I made here.

So stay tuned!

Until then,
TOOTLES!


Baby and Toddler crocheted sun hats

I thought this bright yarn screamed "Summer time" to me! And we've had to much rain lately that a little brightness sounded good.  It's Red Heart Super Saver and the color name is Bikini.  ;)

The first thing I made was a baby sun hat.  I used THIS pattern.
I don't actually have any babies around to model this hat so I used the next best thing - a Cabbage Patch Doll!  Meet Baby Blanche.


As Baby Blanche turns to model, here is a side view of the sun hat.


Lastly, Baby Blanche gives us a rear view of this cute little sun hat.


With the same skein of yarn, I made a toddler/child size sun hat.  It has one additional increase round, making it big enough for a toddler or young child.

If you'd like me to make a sun hat for your child, just let me know!  :)

TOOTLES!

Thursday, May 2, 2013

Freezer Meals

I've been wanting to prepare some "freezer meals" and when I came across a good sale on ground beef and chicken breast, I went for it!  You will find that my favorite style of meals are "QUICK 'N' EASY".  I hate spending a lot of time in the kitchen, I love simple recipes with minimal, common ingredients, and I have kids who are picky eaters.

I like to freeze meals in gallon freezer ziploc bags because they lay flat and take up less space.  Also, it's easy to write baking instructions on the bags before filling them.

  Here's what I made:

Two batches of Pizza Pasta Casserole
Recipe from food.com
Ingredients:
2 lbs ground beef 
1 large onion, chopped
1 clove garlic, minced
1 teaspoon italian seasoning
2 tablespoons olive oil
2 (26 ounce) jars spaghetti sauce
16 ounces rotini pasta, cooked and drained
5 cups shredded mozzarella cheese (20 oz) (I used 4 cups)
8 ounces sliced pepperoni

Directions:
1 Brown ground beef, onion, garlic and seasoning in oil.
2 Drain.
3 Stir in pasta, spaghetti sauce and 3 cups cheese.
4 Place mixture in 2 greased 9x13x2 inch baking pans or 4 square pans. (I filled two of the gallon size freezer bags)
5 Sprinkle with remaining mozzarella.
6 Top with pepperoni.
7 Cover and freeze up to 3 months.
8 To cook now: Bake uncovered at 350 degrees for 25-30 minutes, until heated through.
9 To bake frozen casserole: Thaw in refrigerator overnight and bake at 350 for 35-40 minutes, till hot.

** NOTE:  When I make this, I always mix the pepperoni and cheese in with everything else.
_______________________________________________________________

One meatloaf

I make my meatloaf with a packet of McCormick meatloaf seasoning and follow the recipe on the back:
2 lbs. ground beef
2 eggs
1 cup oats (or bread crumbs)
1 packet seasoning mix
1 (8 oz) tomato sauce (1/2 gets mixed in instead of milk, 1/2 gets poured on top)

** NOTE:   Just use whatever your favorite meatloaf recipe is, but don't forget to write baking instructions on the bag.
__________________________________________________________

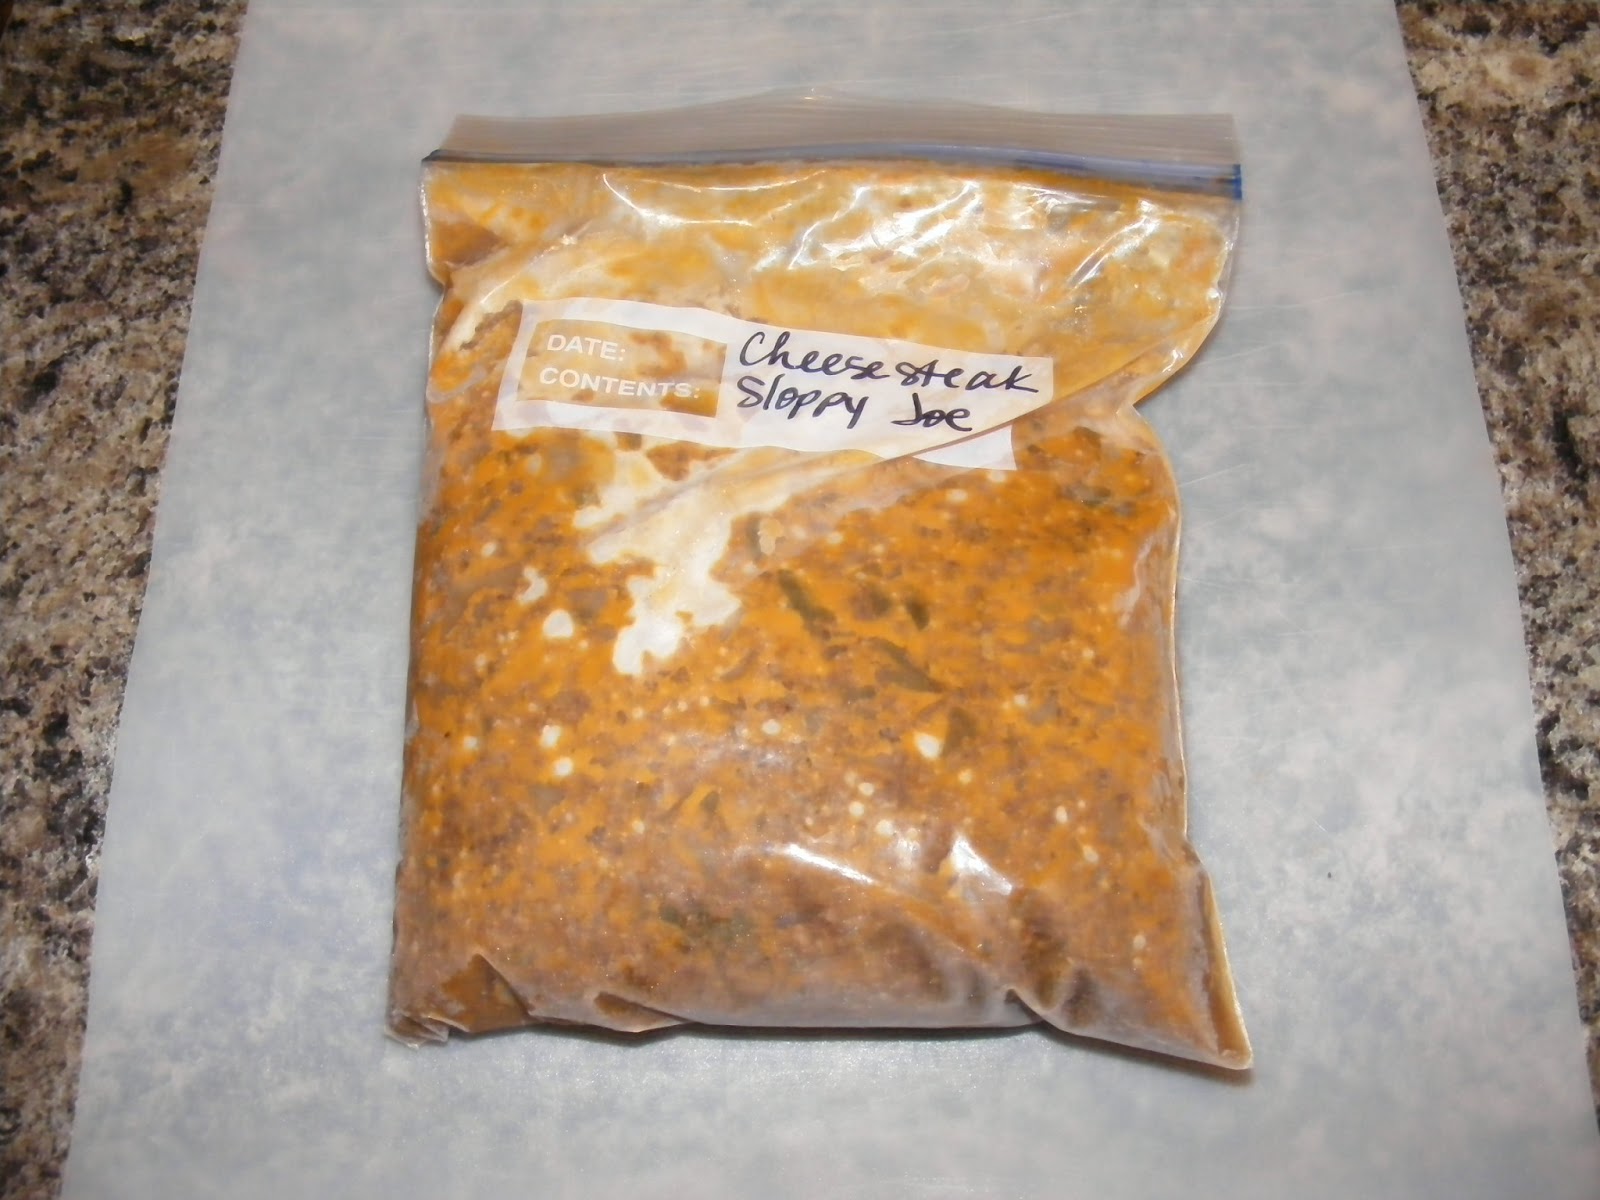
Three batches of Cheesesteak Sloppy Joe
Recipe from blogchef.net
Ingredients:
1 tablespoon extra virgin olive oil
1lb ground beef
1 medium onion (chopped)
1 medium green bell pepper (seeded and chopped)
¼ cup steak sauce
1 cup beef broth
salt and ground black pepper (to taste)
4 hamburger buns
1 tablespoon butter  (next 4 ingredients optional, see my NOTE below)
1 tablespoon flour
1 cup milk
1 cup provolone cheese (shredded)
Step 1: Heat olive oil in a large skillet over medium-high heat. Add ground beef and cook while breaking the ground beef up into chunks with a spatula or spoon until browned. Add the green bell pepper and onion and cook for 3-4 minutes, until the onions start to become tender. Drain an excess liquid. Stir in steak sauce and beef broth, season with salt and pepper. Bring to a boil and cook until the mixture is thickened and bubbly.
Step 2: While the meat is cooking, split the hamburger buns and butter each of the cut sides. Heat a large skillet to medium heat. Place split hamburger buns cut side down into the skillet and cook until lightly browned on the bottom. Remove from the pan and set aside.
Step 3: melt butter in a medium skillet over medium-high heat. Stir in flour and cook for 1 minute. Whisk in milk and cook until the mixture is thickened and bubbly. Remove from heat and stir in the cheese until it is melted and incorporated into the sauce.
Step 4: To assemble sloppy joes- pile the meat mixture onto the top of the bottom half of each bun, top with the provolone cheese sauce, and place the top half of the hamburger bun onto the sandwich.
(Makes 4 Servings)

** NOTE:  I put about 1 1/2 lb into each bag because 1 lb is not enough for our family.  It's precooked and ready to thaw and heat up. Also, I do not make the cheese sauce in this recipe.  I simply put a slice of provolone cheese on the warm buns after toasting them. Obviously, the cheese is not included in my freezer bags.
________________________________________________________

Three bags of browned hamburger, ready for quick addition to any recipe.
I had actually planned on baking meatballs with this meat, but I made this stuff on a weekday evening after work and didn't have time OR energy to keep going.
__________________________________________________________

One batch of Crockpot Sweet BBQ Chicken
Recipe from Just a Pinch
Ingredients
4-6   chicken breasts, boneless and skinless
(12 oz) bottle BBQ sauce
1/4 c   vinegar
1 tsp   red pepper flakes
1/4 c   brown sugar
1 tsp   garlic powder     
Directions
1  Mix BBQ sauce with vinegar, red pepper flakes, brown sugar and garlic powder.
2  Place chicken in crockpot (still frozen is ok). Pour sauce mixture over chicken.
3  Cook on LOW 4-6 hours. 
 
** NOTE:  place raw (never been frozen) chicken breasts in gallon freezer bag,  mix remaining ingredients in bowl then pour in bag over chicken, close bag and squeeze bag to mix.  Thaw in fridge, then cook in crockpot as directed.
 _________________________________________________________
 
Once batch of Oven Baked Chicken Fajitas
Recipe from Real Mom Kitchen
Ingredients
  • 1 pound boneless, skinless chicken breasts, cut into strips
  • 2 Tbsp vegetable oil
  • 2 tsp chili powder
  • 2 tsp cumin
  • ½ tsp garlic powder
  • ½ tsp dried oregano
  • ¼ tsp salt
  • 1 (15 oz) can diced tomatoes with green chilies
  • 1 medium onion, sliced
  • 1 large bell pepper, seeded and sliced (I use half a green and half a red)
  • 12 flour tortillas
  • Toppings such as cheese, sour cream, and guacamole – if desired
Instructions
  1. Preheat the oven to 400 degrees. Place chicken strips in a greased 13×9 baking dish.
  2. In a small bowl combine the oil, chili powder, cumin, garlic powder, dried oregano, and salt
  3. Drizzle the spice mixture over the chicken and stir to coat.
  4. Next add the tomatoes, peppers, and onions to the dish and stir to combine.
  5. Bake uncovered for 20-25 minutes or until chicken is cooked through and the vegetables are tender. Serve on tortillas with desired toppings.
** NOTE:  Freeze before baking.  Place chicken in bag, mix remaining ingredients (except tortillas and toppings) in bowl then add to bag, squeeze bag to mix.  Just thaw in fridge and continue with baking instructions.  My picky eaters won't like this, but I sure will!  :)
 ______________________________________________________________

Three bags of hotdogs
Ok, so this isn't anything impressive, but I did get a 24-count package of bun-length hot dogs and separated it out in to three 8-count bags (since buns come in 8 packs).  Just something quick to throw on the grill when we're in a hurry.
______________________________________________________

Nothing fancy or time consuming here.  But it will all come in handy during the busy weeks/months ahead!  If you are on pinterest and do a search for "freezer meals", you will find LOTS of recipes and ideas.  Or even search the internet for "once a month cooking" or "OAMC".  Some bloggers are even nice enough to create a shopping list for you.  I guess I'm not that nice!  (Actually I am, but it's 10:30 pm and time for bed.  So sorry, LOL!)

I hope I've inspired you in some way.
  Let me know what meals you like to make ahead.  I'm sure I'll be looking for more ideas!

Until next time...
Tootles!

Sunday, March 31, 2013

The Double-Scarf Braid

Ok, so I was looking around on Pinterest for ideas on how to tie a scarf, or different ways to wear a scarf.  I found a few good ideas but was in the mood for something unique.  I started playing around with two scarves and came up with this:

After I posted the pic on Facebook, a couple friends wanted to know how to create this look so I made a video!
Here ya go:

Saturday, March 30, 2013

Crochet Ruffle Scarf

I have been making and selling lots of Ruffle Scarves this past winter.  I had searched and searched for a pattern/design that I loved.  What I ended up doing is taking a little of this and a little of that from various designs and creating my own.  My yarn of choice for these scarves is Red Heart Boutique Sashay.  I've used a couple other brands of "fishnet" yarn and I love Sashay the best!

Here are a couple of my scarves:


I once taught a 2-week class at school where I work on how to crochet these scarves.  I made an instructional video and posted it in Youtube.  You can watch it here:

Peeps Cake

Today I made an Easter cake to go with our family dinner tomorrow after church.
I've seen ideas for this type of cake all over Pinterest.  I believe some people call them "barrel cakes".  They can be made with Marshmallow Peeps around the sides, with Kit Kat bars around the sides, or anything that floats your boat.  And then our Catering class at school made one last week with Kit Kats and after seeing it in person, I just absolutely loved the idea of it!  So here is my version of a Peeps cake:

It's made with Carrot Cake, Cream Cheese Icing, blue and yellow peeps, and M&M's on top.
So...since it's Carrot Cake, that counts as a veggie serving, right?

Homemade Banana Pudding

I know, I know...
In my past post I mentioned that I don't "do" homemade.  This has been a rare week of trying new things, lol.
Here's a recipe my friend Richel gave me, along with a picture of my final results.

Homemade Banana Pudding
3 large eggs, separated
3/4 c. Granulated sugar, divided to 1/2 & 1/4 cups
1/3 cup all purpose flour
dash of salt
3 cups whole milk
1 overflowing tsp. Pure vanilla extract
1 box of nila vanilla wafers, you won't use everyone of them
4-6 bananas sliced (I used 3)
pinch cream of tartar.

Separate the eggs & set aside the whites to come to room temperature for meringue. In a saucepan whisk together 1/2 cup of the sugar with the flour, salt, and milk. Whisk in egg yolks and cook over medium heat, stirring constantly, until thickened and mixture reaches 170 degrees. Remove from heat, stir in vanilla and set aside, to cool slightly.

In a 1-1/2 quart baking dish, begin layering. Spoon a small amount of the custard on the bottom of your dish; add a layer of the wafers on top of the custard and also around the outside of bowl with the rounded tips facing out, if desired. Continue to layer wafers, sliced bananas and custard for a total of 2 to 3 layers, ending with custard on top and set aside.

Prepare meringue; whip egg whites with mixer then slowly add the remaining 1/4 cup of sugar and a pinch of cream of tartar.  Continue beating on medium/high speed until stiff peaks form. Spread meringue on top of the pudding, spreading to the edges. Place in a preheated oven 350 degrees for 12 - 15 degrees or until meringue peaks turn brown. Remove & let sit for at least an hour.


Flower Biscuits

Hi there!
It's been many years since I've done any blogging, but here I am...
I do still have my Angel Stamper blog up even though I don't update it any more.  People continue to visit it for my paper crafting tutorials, so I just leave it there.
Anyhoo, one of the reason I created this blog is to be able to "pin" some of my ideas/creations/copycats on Pinterest. 

I don't know that I'll ever have anything interesting to write about.  You just never know what you'll find here, or how often I will post, but we'll give it a whirl.

To start off with, I want to share a picture of some homemade biscuits my daughter and I made the other day.  Now, I'm usually a pop-a-can type biscuit baker.  I don't do "homemade" much of anything, really.  But we decided to make some biscuits using Jiffy Baking Mix (that's as homemade as it gets folks!) and my daughter chose a flower cookie cutter.  It just made them so much more fun to eat!  :)

Sometimes you just have to think outside the circle!